The Best Wireless Tether Setup for Sony Alpha Cameras?
I’ve done the hard work of testing countless setups on assignments and at home, and I think I’ve found the fastest way to wirelessly transfer photos from your Sony Alpha to your computer. More importantly, it’s a stable connection that I can set up and forget, allowing me to get quick feedback from clients and review images on a big screen.
I use the Sony A7rV’s built in FTPI use the Sony A7rV’s built-in FTP client to send photos through a wireless access point directly to an FTP server on my computer.
Here is the equipment
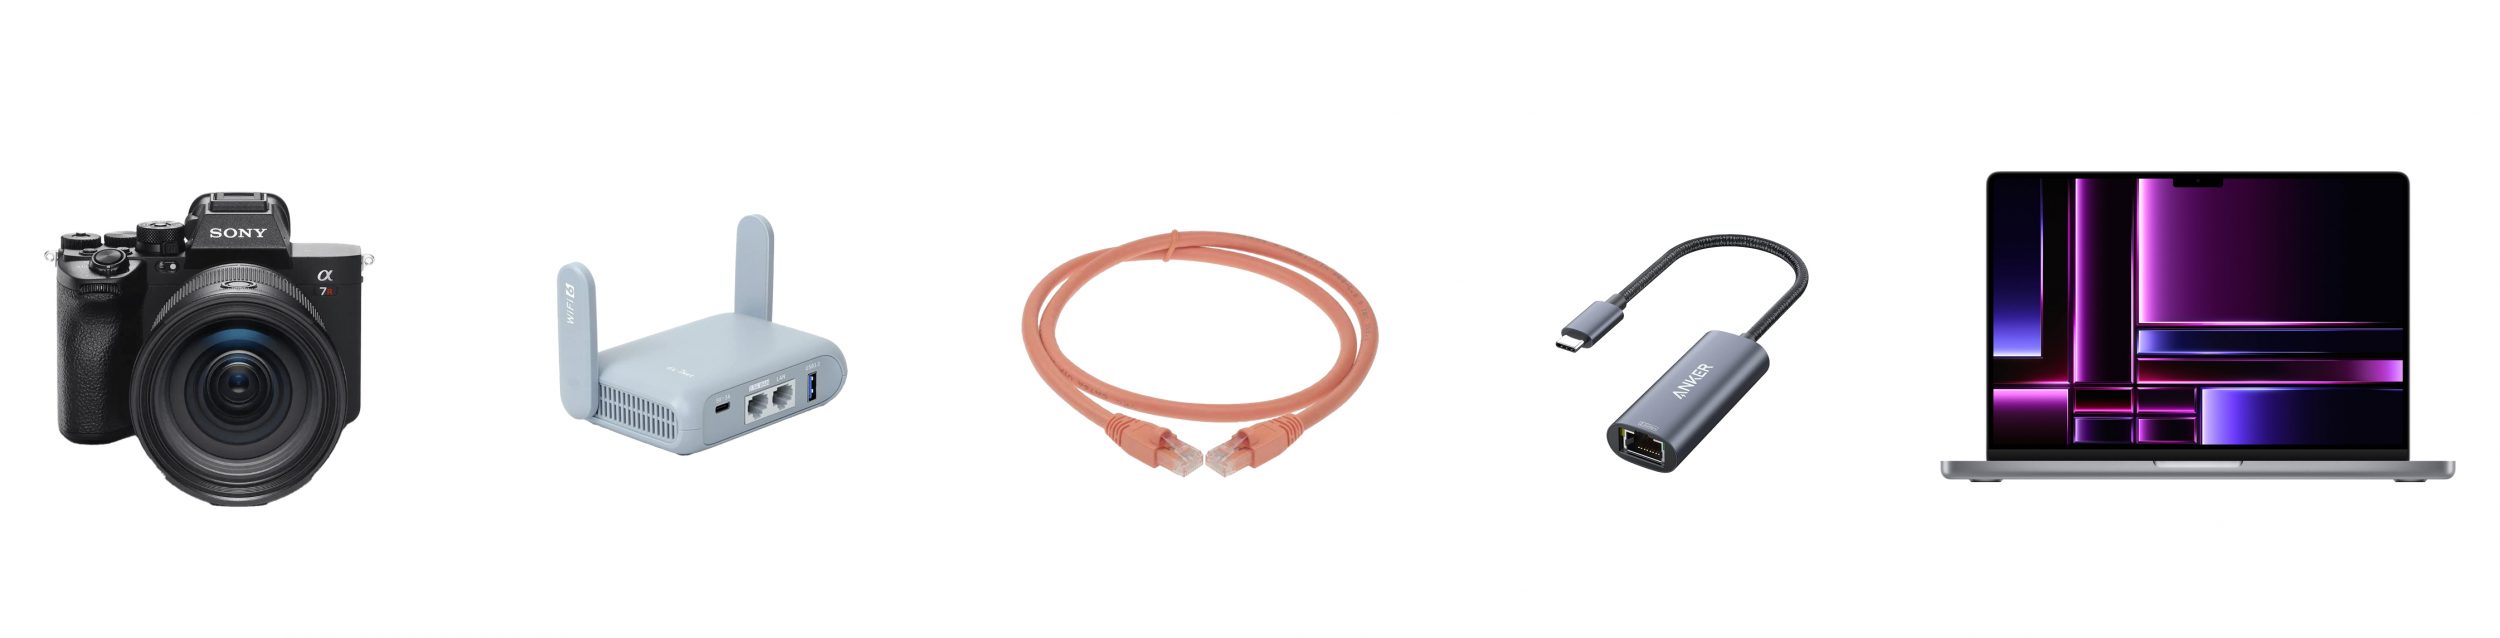
- Sony A7rV – I use the Sony’s ability to connect to a Wifi Access point and built in FTP Client. Uses 5Ghz 2×2 MIMO Wi-Fi, 1.2 Gbps.
- GL.iNet GL-MT3000 (Beryl AX) – Also has 2×2 MIMO Wi-Fi to 2.5Gbps LAN port
- Cat 6e Ethernet cable – 10 Gbps
- Anker USB C to 2.5 Gbps Ethernet Adapter – 2.5 Gbps
- Macbook Pro – 10Gbps USB-C
With everything connected, I achieve 30MB/s (0.24 Gbps) when sending a single image and 50MB/s (0.4 Gbps) when transmitting two or more simultaneously. This means a 75MB compressed RAW image transfers in about 2-3 seconds per image.
I wish it was faster, but the photo is often ready to view on my computer by the time I turn to look at it.
MacOS used to have a built-in FTP server, but it seems that support has been dropped in recent years. So I use the Transfer app by IntuitBits. I tried using the free FileZilla FTP Server, but only got half the speed.
Why use the FTP client method?
This setup is complex to configure initially, but afterward, it simply connects by plugging in the router and starting the Transfer app. It also automatically reconnects if I turn the camera off and on.
Historically, the best option was a USB-C Tether by TetherTools. It is fast and stable but really limits movement. A physical tether works well for static shoots like company portraits or product photography, but is unwieldy for dynamic shoots.
Sony promotes their Imaging Edge connection and Capture One has another wireless tether option. These software solutions allow a wireless connection without the hardware, and it is easier to set up. But, I’ve found Capture One’s connection to be unstable, dropping every 20 minutes or so during a day long shoot. That breaks the flow when I’m working alone because it requires a few clicks on the computer and camera to reconnect.
Imaging Edge is also getting more hostile as they try to force us into a cloud subscription.
Setup Details
Setting this up requires some knowledge of networking and client/server relationships. There are many good videos already on Youtube. I’d suggest this one:
But while setting up mine there are a few specific settings that helped.
- On the router, assign a static IP address to your computer. Mine is set to 168.192.8.100. This makes it easier to connect the router, turn on the camera, and establish the connection to the same address each time.
- The Beryl AX has two Ethernet ports. The 2.5Gbps port is faster, but it’s a LAN connection by default. In the control panel, you can switch it to WAN and use that port to connect to your computer.
- This travel router can be powered by a USB-C cable connected to the laptop.
- I couldn’t get the camera to work with SFTP, even though it should. I don’t really need it because this is a closed-loop network, not connected to any WAN or the internet.
- The Transfer app FTP server allows for an anonymous user called “ftp” without a password. I used this because typing in a password on the back of the camera is difficult.
- Explore the GUI of the Transfer app; it’s good at displaying the information you’ll need to troubleshoot your connection.
- I turn off my laptop’s Wi-Fi for network simplicity, so it no longer has a WAN internet connection. I don’t want distractions while shooting anyway.
- I use Photo Mechanic’s Live Ingest feature to display incoming photos. Check out their newest Apple Silicon Beta.It’s much snappier and uses an Apple Silicon optimized RAW renderer. I prefer their “Adobe DNG Converter” option because it’s a little faster, but remember that you have to manually upgrade it.
Things to keep in mind
You can probably go with a cheaper travel router like the Cudy AC1200 without much loss in speed.
The theoretical limit of all of this equipment is well above the transfer speeds that I am seeing. I am guessing that the bottleneck here is the camera’s processing speed.
Is the Sony A7rV transfer speed limit 50MB/s? I’d love to hear from anyone that can get higher.